
Create a test case directly in the Jira issue you want to test
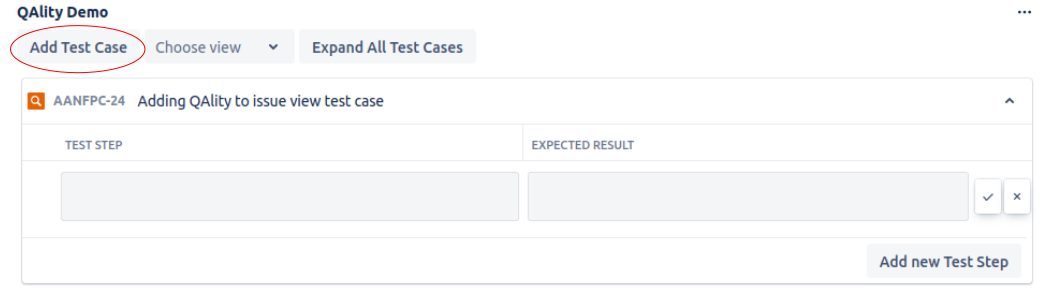
To create a new test case, click the Add Test Case button. This will add a new test case with the default name equal to the Jira issue you're working on.
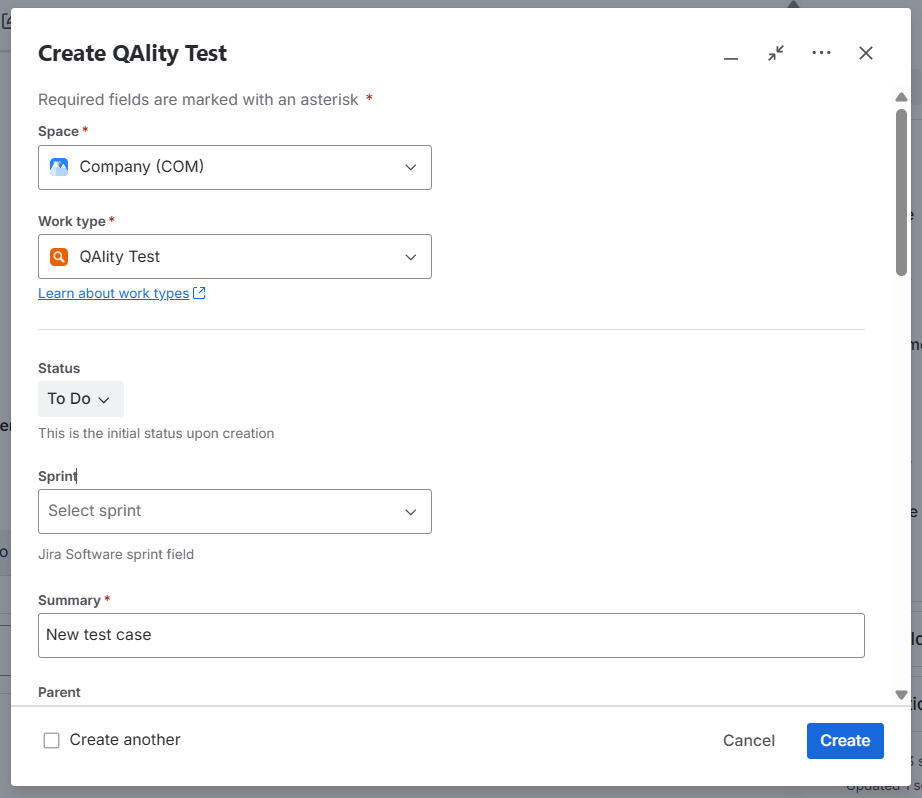
Create a test case by creating a new Jira issue
It is also possible to create a new test case by creating a new Jira issue. To do that:
-
Click Create issue.
-
Select ‘QAlity Test’ as the issue type.
-
Set any required fields.
-
Confirm.
The newly created issue will represent your test case. You can modify and execute this test case directly from this Jira issue. You can also link it to other tickets so that it shows up there too.
Add test steps to your test case
After you've created a test case, you can add steps to it in several ways.
Add a step to a new test case
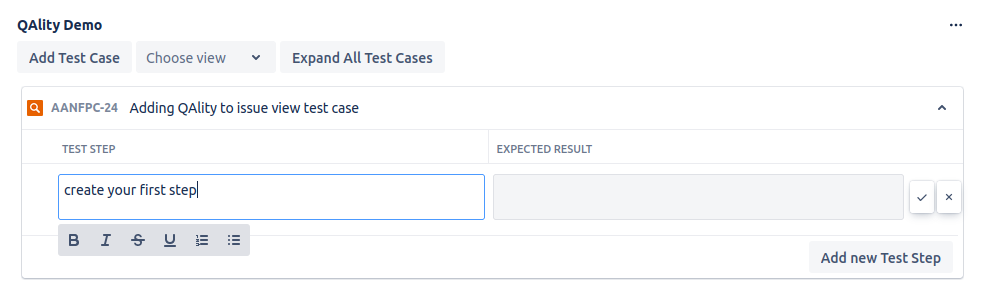
If you’ve just created a test case your cursor is automatically focused on the step’s input. Insert the required information and accept using the checkmark button. This will also automatically create the inputs for the next step. Use Tab and Shift+Tab keys to move between the ‘Test Case’ columns.
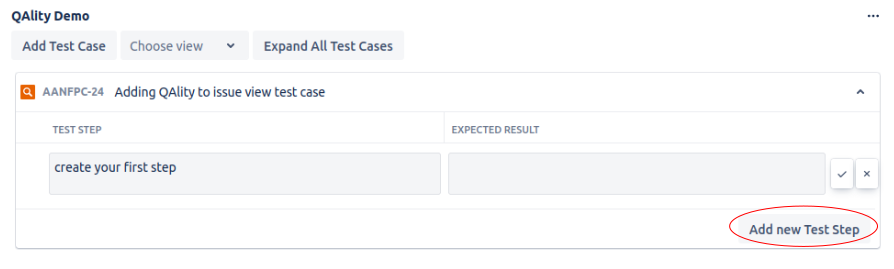
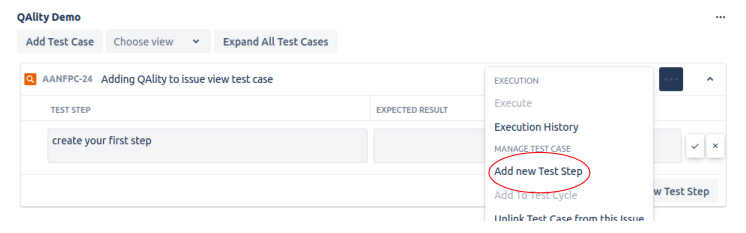
You can also click Add new Test Step at the bottom of the test case or click the test case menu and then select Add new Test Step.
Insert a step between existing steps
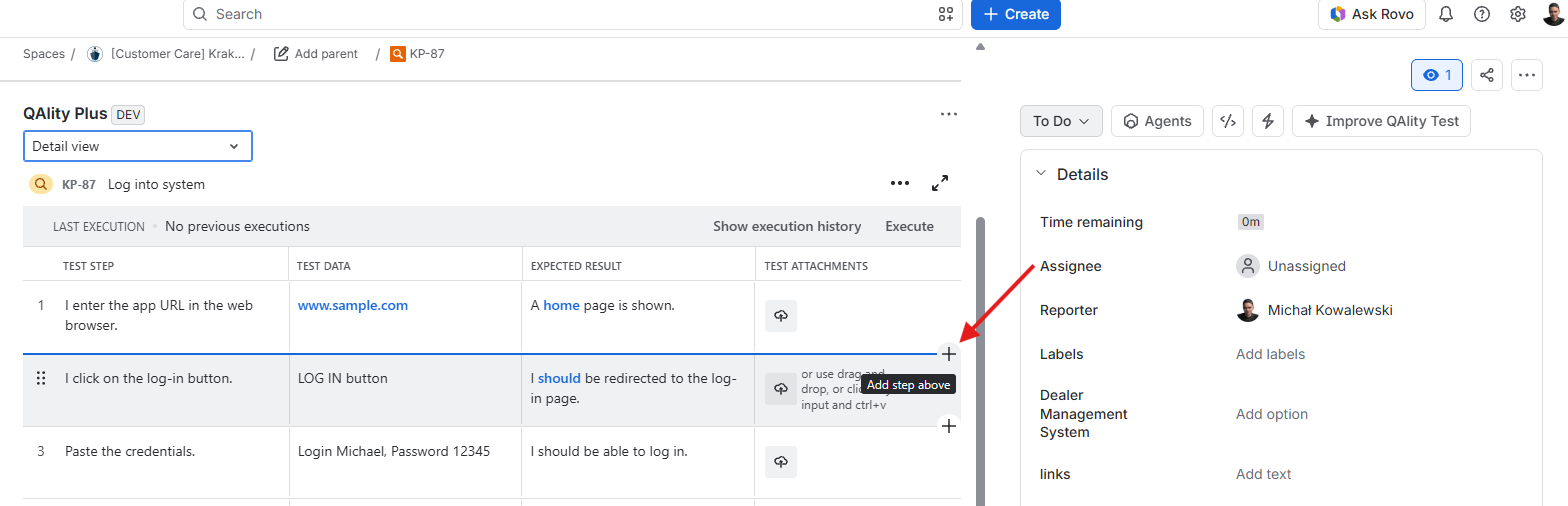
To insert a step between existing steps, hover over a step and use the + button above or below it.
Character limit
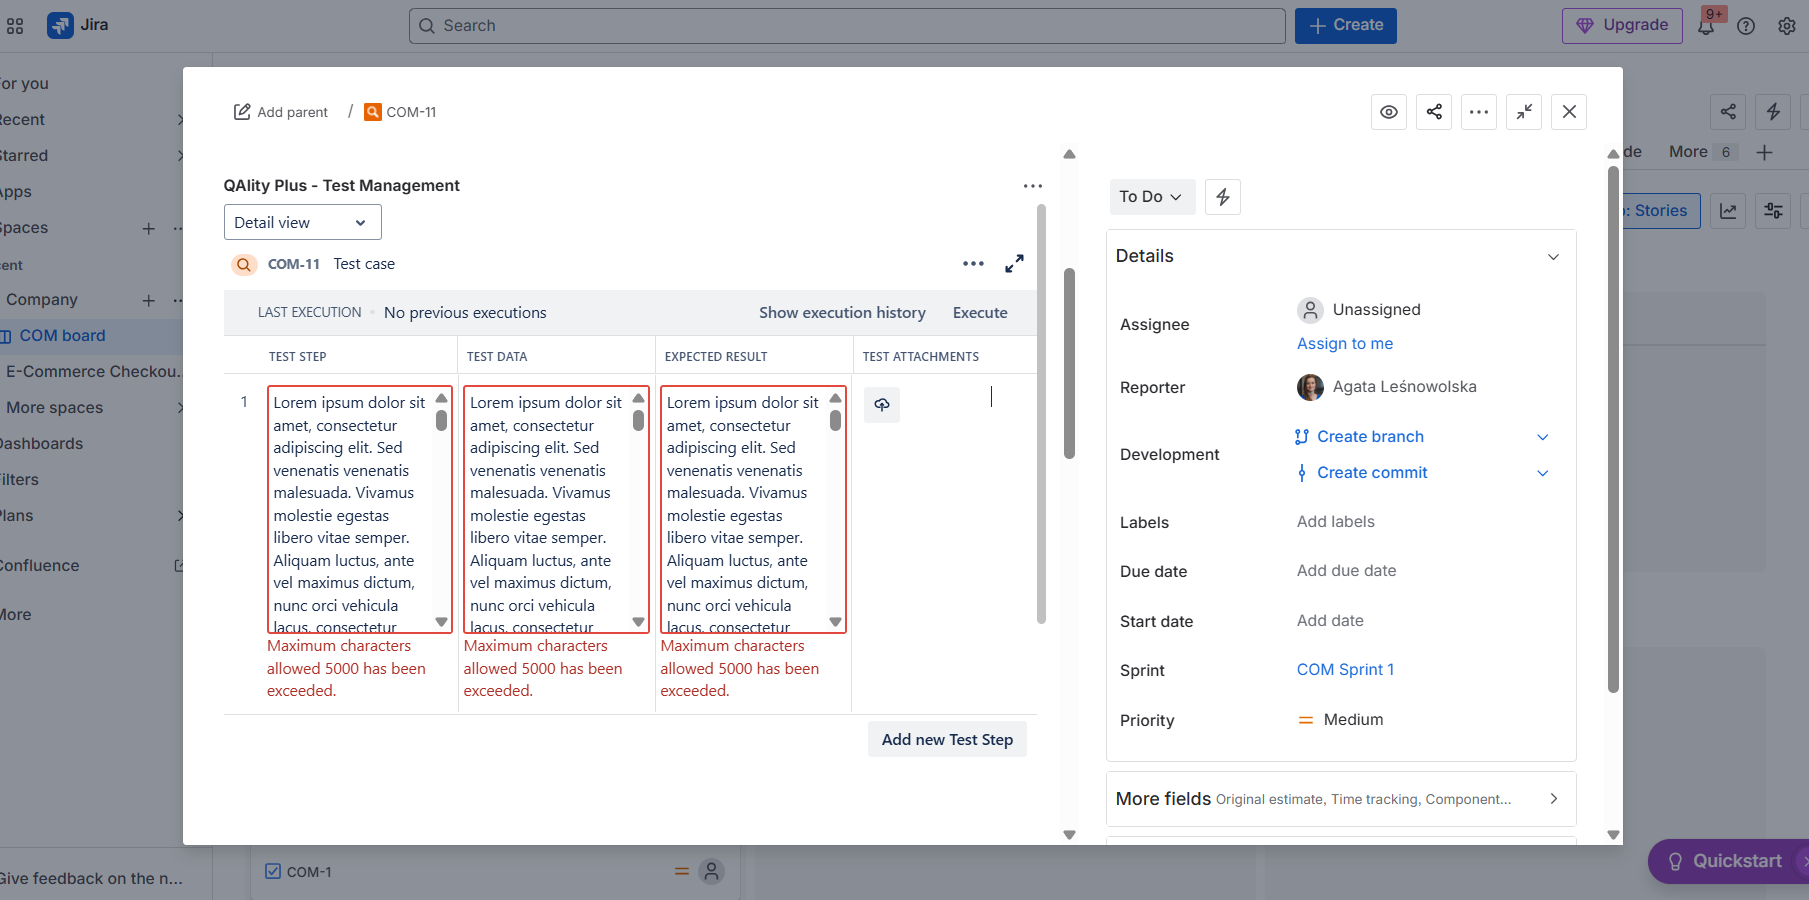
The limit per column in Test Management is 5000 characters.
Format text and add links
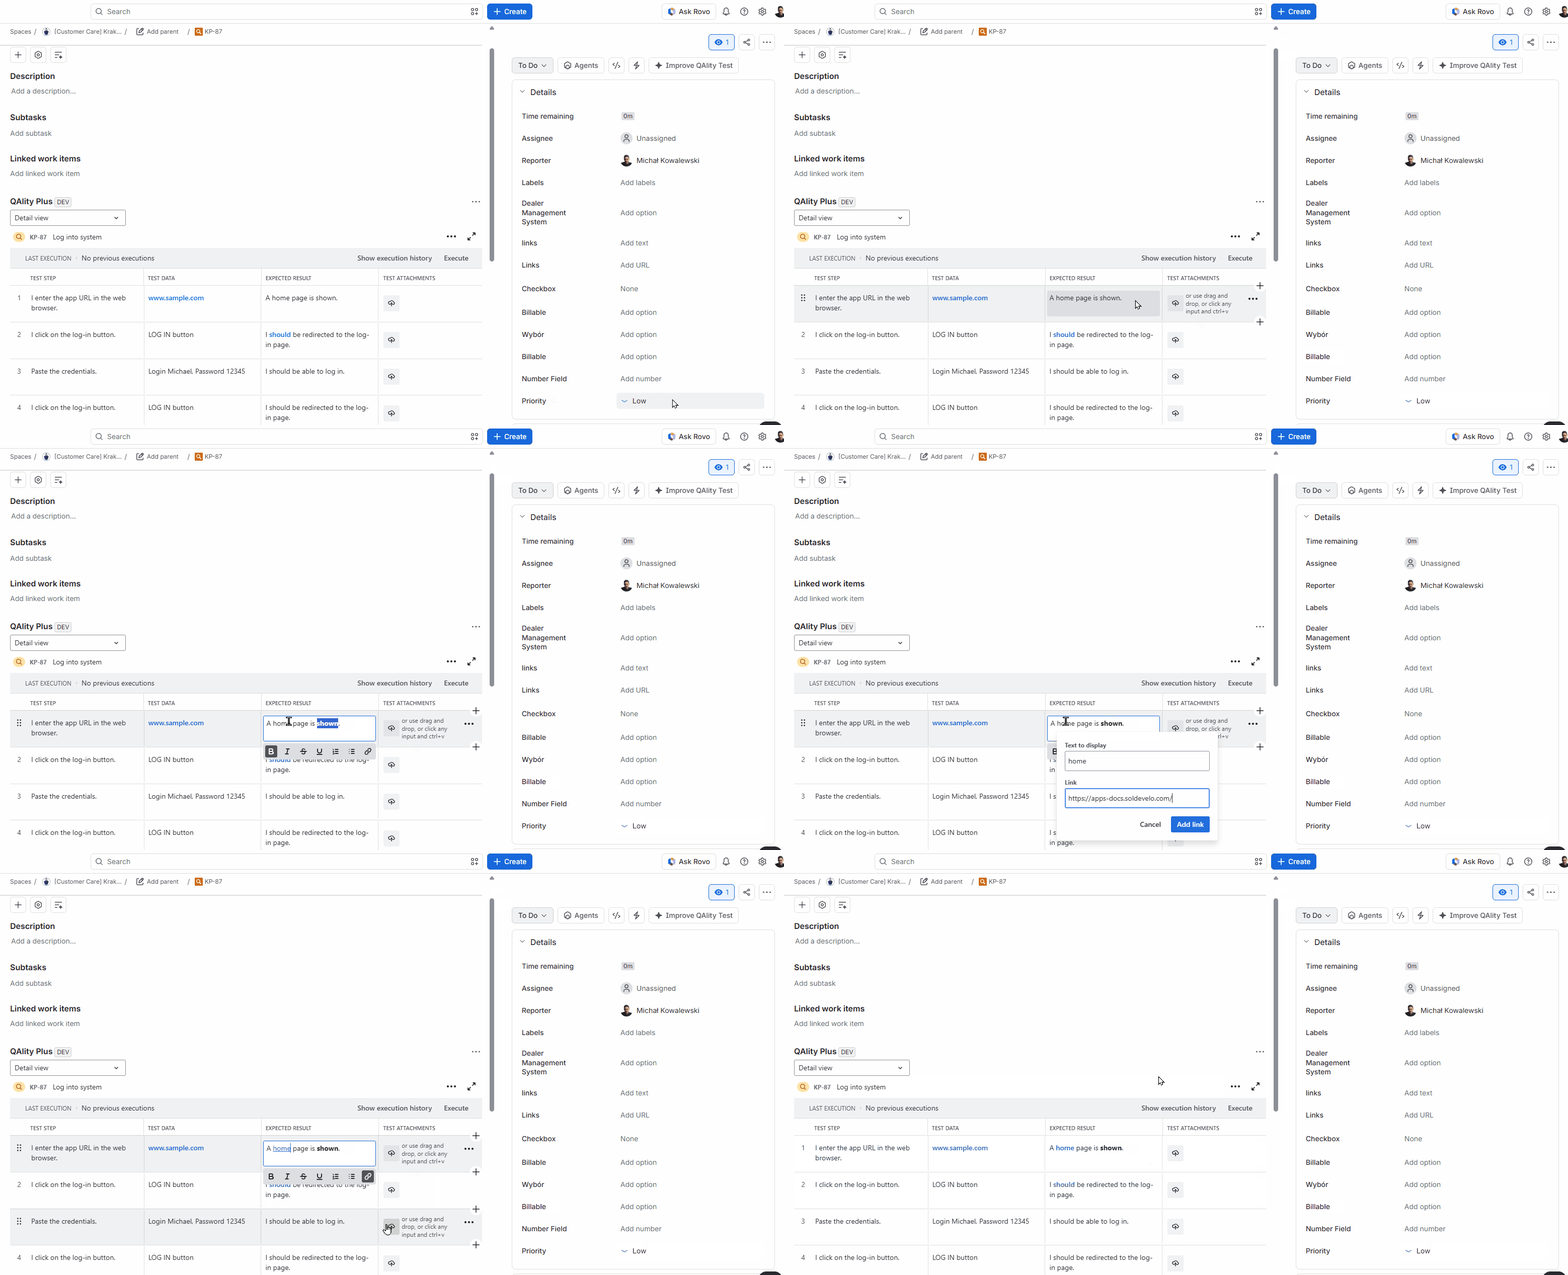
You can format test step text using the formatting toolbar. The available options include bold, italic, strikethrough, underline, numbered lists, bullet lists, and hyperlinks.
You can also use keyboard shortcuts for selected formatting options. For the full list, see Keyboard Shortcuts.
Do you have any questions or feedback? Feel free to contact us here 💡